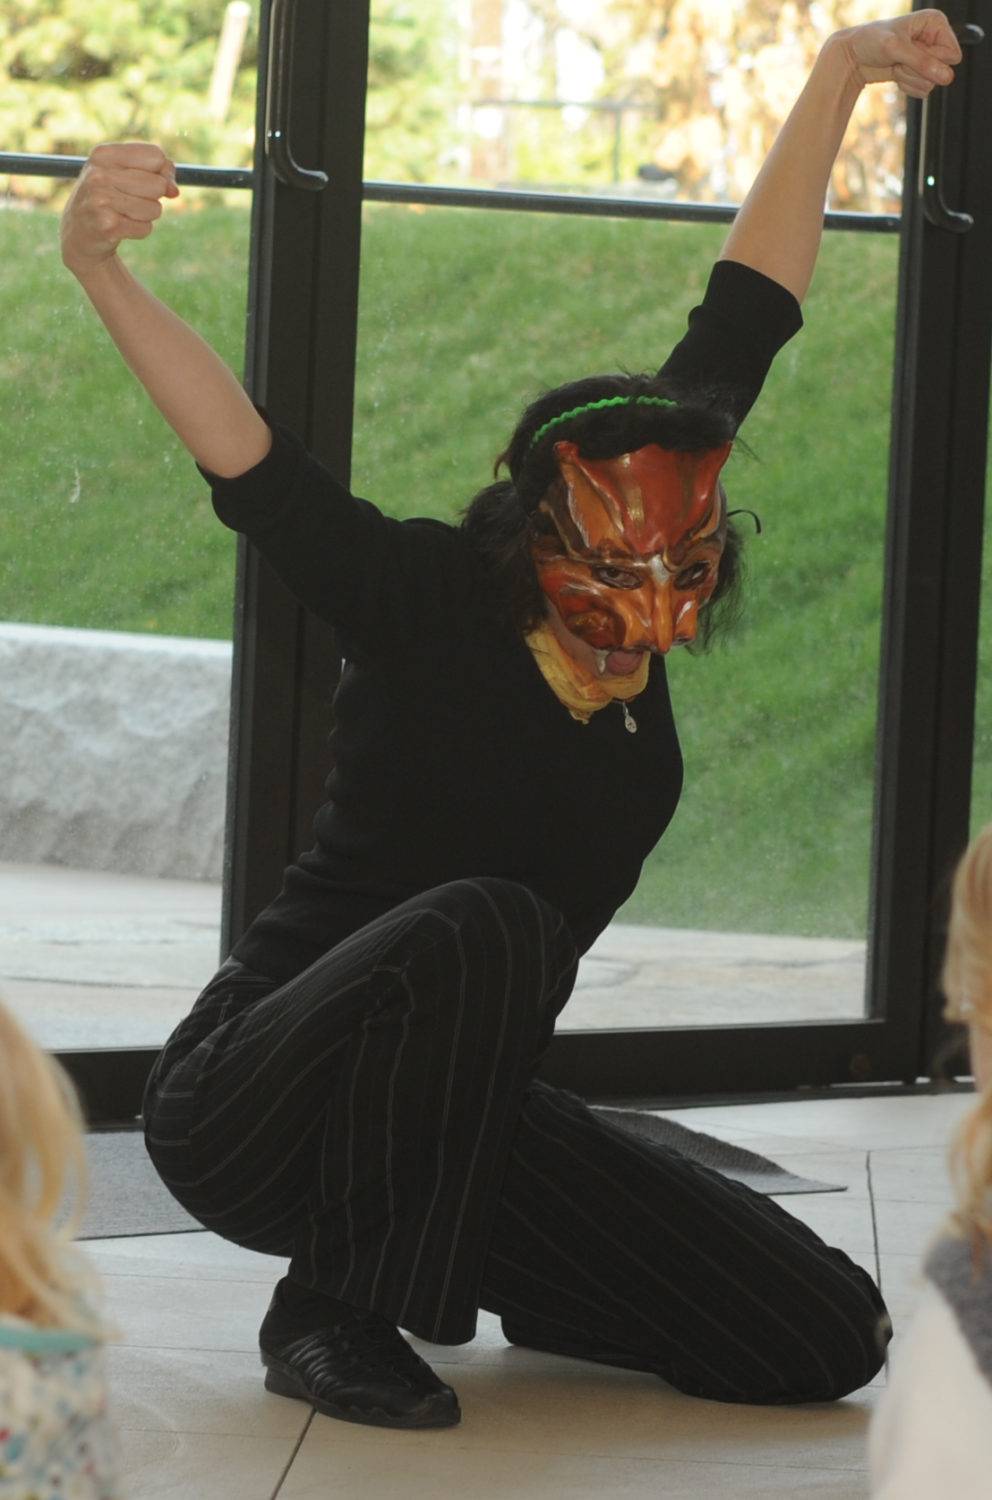
 MASKS. I am often asked to teach classes, mentor, or give advice regarding mask making practices. Now that school is on the horizon, activists, artists and teachers are figuring out plans and budgets, and it seems like a good idea to address some of these questions. Towards this end, I am dedicating this blog to making masks with Papier Mache. Later blogs will outline making masks with Aquaplast and with Manilla Folders.
Papier Mache: What is it? In a nutshell, Papier mache is a process in which strips of newspaper (usually) are dipped in a mixture of either wallpaper paste and water or glue and water, then laid over a sculpted mold.
What are the pros and cons of using it?
 Pros: It’s very cheap! I prefer the glue/water mixture, which is not only inexpensive, but can be listed as an ‘office supply’ in some cases, instead of an ‘art supply’ if your budget is restricted. It’s also easy to use, and, provided 1) the features of the sculpted mold are distinct enough and 2) the strips are narrow enough (so they retain the molds details), anyone can be successful.
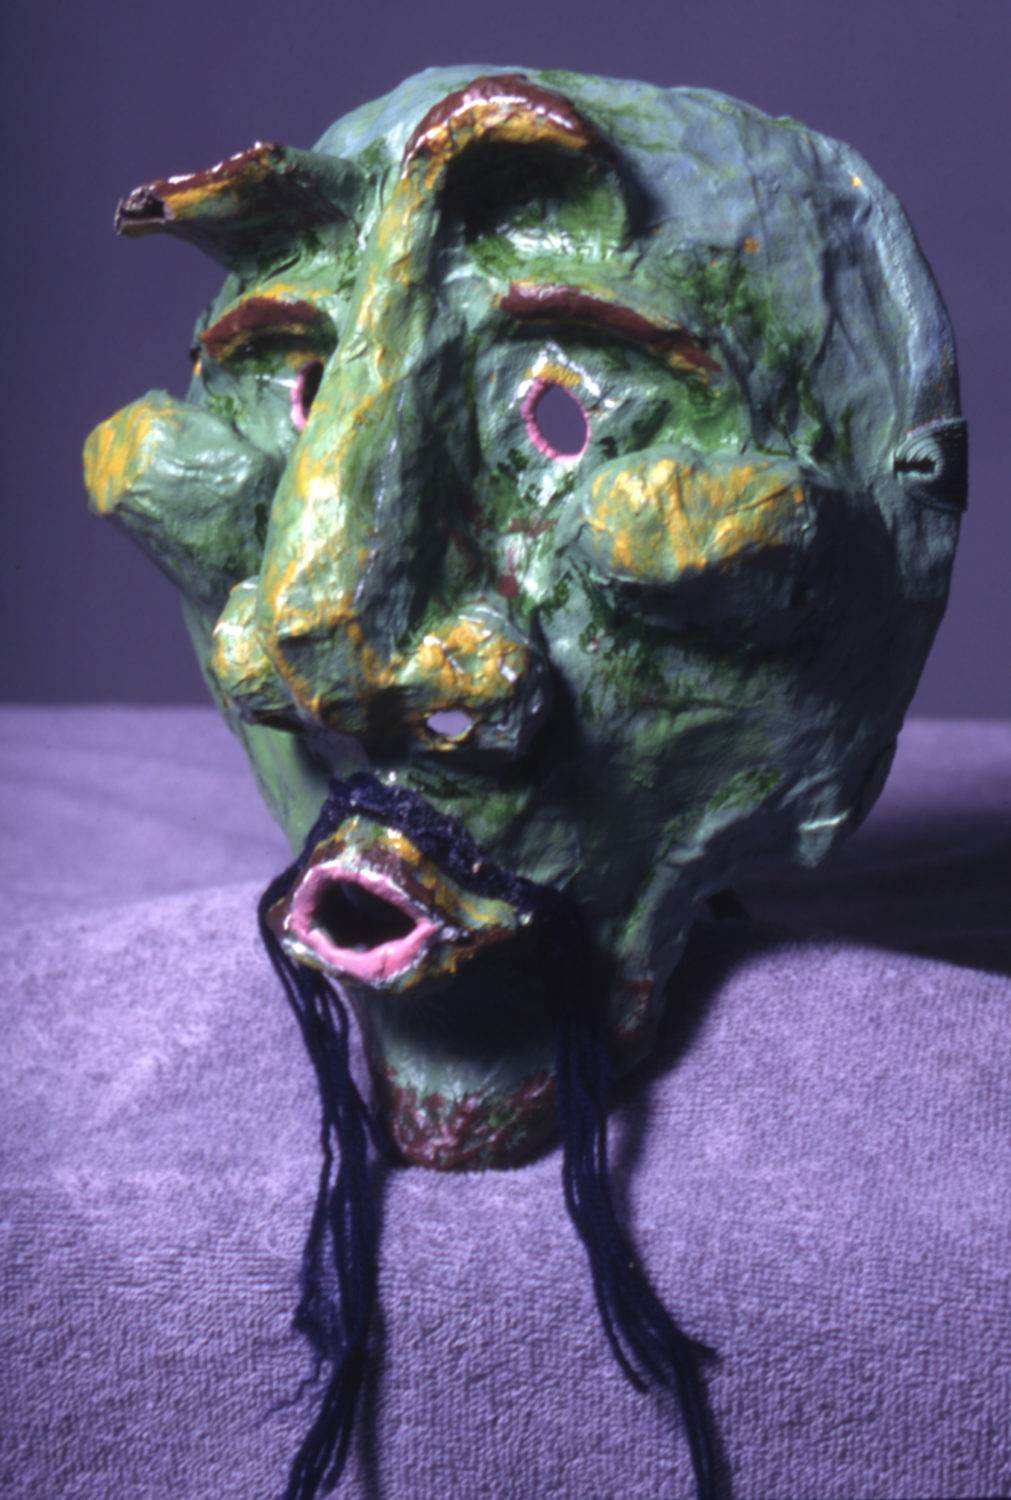
 Cons: Because multiple layers are needed for the mask to be strong enough to perform in, it can take a loooong time to make a mask, as each layer must be dry before another layer can be added. Moreover, each layer added reduces the sharpness of the features and lines. It is also a very porous material, so should not be used for masks that many people will use. Papier mache masks crumble over time, and can’t take much abuse. They must also be small (face size or there-abouts), unless they are built over a frame mae of something like chicken-wire.
Tips!

Stage One: Sculpting the form
Getting Ready The easiest sculpting materials are playdoh, sculpy or traditional clay. If you use traditional clay, get the stuff that the pottery class has to throw away.
You’ll need less of your sculpting material if you make a ‘base’ of
 newspaper and masking tape, a small bowl, or a half a styrofoam head (the kind used to display hats and wigs). If you use newspaper/tape or a bowl, you will need to remind your students to hold their face up to the mold to mark where the eyes, nose, and edges of the head need to be.
Sculpting Remember that the features need to be large, defined, and extra specific. You will be applying several layers over them, and each one will ‘smooth out the landscape’, so to speak. Imagine laying several tablecloths overtop an elaborate centerpiece.
Stage Two: Laying on the papier mache
Choosing your materials Newspaper is the most common choice. However, using industrial paper towels makes for a stronger layer. The towels also take the shape of the mold more easily and can be made to have more definition.
Layering Rip your paper material into thin strips, dip into your glop (glue/water or wallpaper paste/water), run your fingers down the strip to remove the excess, and lay across sculpted form. Remember that a “layer” is not actually a single layer, it’s more like 2. Ish. The “ish” comes in because it’s important that the strips are not lined up–they need to be interlaced, and the interlacing pattern should not be repeated (there should be no ‘pattern’). Take advantage of the layering to actually sculpt the paper strips–you want to create as much definition as possible.
Make sure the layer is dry before adding the next one!
Stage Three: Finishing up
Inside I like to do a final layer inside the mask of cloth dipped in the glop–it is strong, and smoother than paper on the face.
Outside Gently sand the outside, then paint with a top coating of glop or a clear acrylic base. Now you’re ready to paint!
Best of luck, and you can always contact me with questions. 
Support rabble today!
We’re so glad you stopped by! Thanks for consuming rabble content this year.
rabble.ca is 100% reader and donor funded, so as an avid reader of our content, we hope you will consider gifting rabble with a donation during our summer fundraiser today.
Whether it be a one-time donation or a small monthly contribution, your support is critical to keep rabble writers producing the work you’ve come to rely on as a part of a healthy media diet.
Whether it be a one-time donation or a small monthly contribution, your support is critical to keep rabble writers producing the work you’ve come to rely on as a part of a healthy media diet.
Become a rabble rouser — donate to rabble.ca today.
Nick Seebruch, editor