Last week our How To lesson was about canning, and this week we’ve also posted some rad reviews of food-related books: Digging the City: An Urban Agriculture Manifesto and Food and the City: Urban Agriculture and the New Food Revolution. But let’s say your brain is full of urban agriculture knowledge and your fingernails are already dirty from your garden; that means there’s only one thing missing from your life… bureaucracy! Or perhaps community?
Well, with today’s lesson you’ll be able to get your fill of both with this handy-dandy guide to starting a community garden. You likely won’t do these steps in exact order, or you might find yourself doing them all simultaneously. My experience comes from working for almost two years to get a community garden up and running in our neighbourhood, and we just had a successful first season!
Step 1. Find a group of like-minded people in your neighbourhood, because doing this alone will be nearly impossible. Hopefully you already know some cool neighbours, but if not, you could check out your neighbourhood association. If your neighbourhood is as cool as mine you might even have a local Transition network to tap into.
Step 2. Find land. There might be an obvious option, but by talking to neighbours you might find out about hidden away plots of land that are just begging to be turned into a beautiful community space. It’s a good idea to have several options, as you might find land-owners or city officials prefer parking lots to permaculture.
Once you have your potentials plots in mind, talk to the various owners and get one of them to give you permission to turn it into a garden. Figure out how big it will be at some point, and how many plots you’ll divide it into. Be prepared for the fact that it might take a year or two to get through the bureaucracy and get your garden approved!
Step 3. Talk to the neighbours right around your chosen spot. If three out of four of the surrounding properties support your endeavour, you might still have a lot of problems. We ended up bringing in our city councillor and the president of our neighbourhood association to mediate a dispute. Luckily all was resolved, but we were nervous for a while that our project wouldn’t be able to take off.
Step 4. Find money. Hopefully your city gives start-up money or in-kind donations to community gardens. If not, you’ll probably have to start fundraising or ask for donations, because you’ll want at least some of the following: top soil, compost, wood for raised beds, fencing, tools, mulch, signs, a shed, rain barrels.
If you’re not able to get start-up cash, you may want to figure out how much your costs will be and then require gardeners to pay for their plots to ensure you’re able to provide all the necessities they’ll need throughout the season.
Step 5. Find water. This can be a big challenge for community gardens! It’s a good idea to figure this one out before you start gardening (I know from experience). Here are some of the options, from best to worst: having a tap on the property, collecting water off a structure, filling up a barrel from a nearby property, bringing in a water truck or having gardeners bring their own water.
Step 6. Find the by-laws. And create your own by-laws. It would be a terrible thing to put in a beautiful fence only to have the city or town come and tear it down because it doesn’t fit the by-laws.
You’ll also want to start drafting some rules and expectations such as whether or not gardeners are expected to use organic practises, who to contact if they’re going to be away for a while and need someone to water, whether or not everyone will also need to put in volunteer hours and other expectations that might be specific to your area.
Step 7. Find gardeners. You may have a community garden or other social network to advertise on, but we just put flyers in mailboxes on four streets around our garden and easily filled up all 22 of our spots. You’ll want to figure out how many gardeners you want to manage and what methods of communication you’ll use with them.
You may be limited by the size of the land you’re using, but even if you have access to a former football field you may want to start small with plans to expand later. We ended up with 24 plots, but left two as communal plots where people planted extra seedlings that any visitor to the garden would be able to enjoy later on. Then two people didn’t end up gardening so they became communal plots as well.
Next year we’ll have a more concrete date to plant by (summer started late this year), and a waitlist of people who are more committed who will hopefully jump in if a plot opens up.
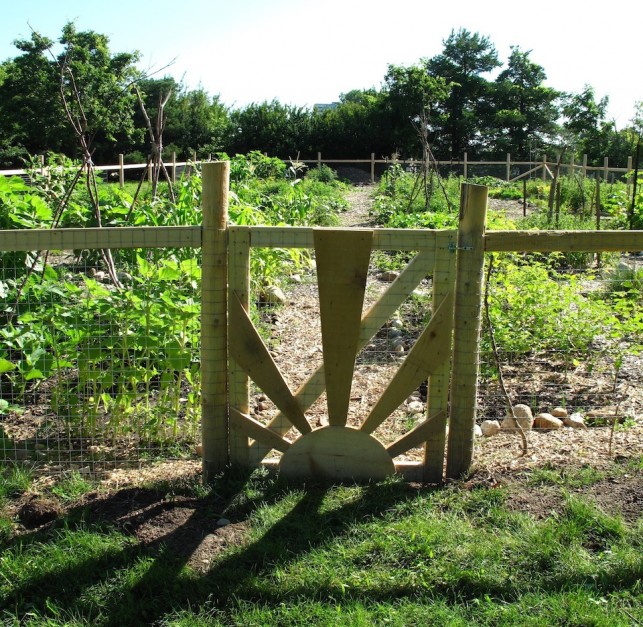
Step 8. Garden! Well, strip sod, add soil, dump compost, dig out rocks, build fences, mulch pathways and then hopefully garden.
Step 9. Profit! I mean — revel in your bounty. And then figure out what you’ll do differently next year, while looking forward to the fact that you may only have to do steps seven through nine from now on.
The article and image originally appeared in Alternatives Journal and is reprinted with permission.


